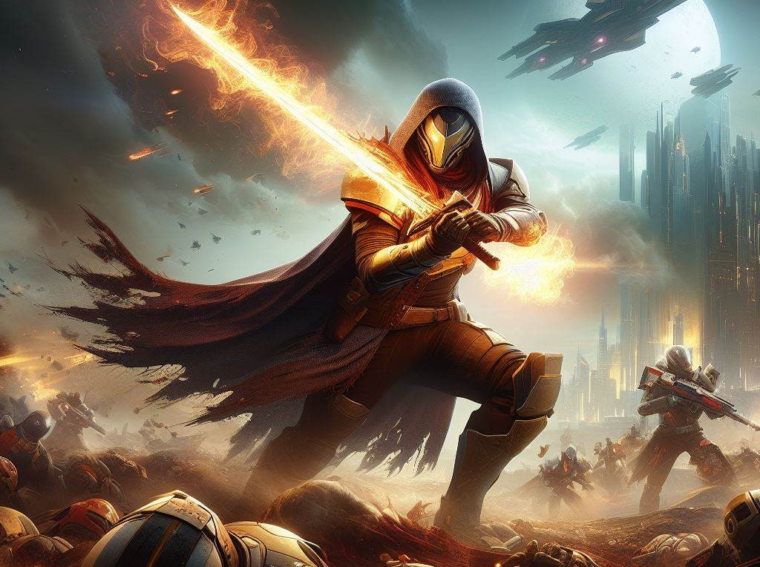
D2 is a well-known shooter in the MMO RPG format, in which players will have to go through a story and continue to level up their character, gaining strength in equipment using the Destiny 2 raidcarry system, strikes, hunts and contracts.
Particular attention should be paid to strikes, because this is a format of mini-raids for three players, in which you can have an interesting time completing complex tasks and at the same time claim weapons and armor of a high level of strength, which will help you prepare for more complex strikes and raids for further gameplay.
Strike Lake of Shadows, walkthrough guide
In this strike you will meet and fight with a large faction, which is distributed across a series of tunnels and in the process of clearing you will need to defeat a group of mini-bosses from the Taken guild.
In the beginning, a large invasion of enemies awaits you, and if you do not destroy all the portals in the European Dead Zone, the monsters will simply overwhelm you with their numbers.
To determine the correct direction in dark tunnels, go straight, turn left and then right – you should see a destroyed building and blue lamps surrounding it – this means that you have chosen the right road.
If you enter the building, go up to the top floor and then, walking along its right side, jump into the thicket, you can go out to Maevic Square, where the first large portal will be waiting for you.
You need to kill a centurion, around whom there will be many enemies, and it is better if you have two types of weapons – energy and kinetic, to alternate between knocking down the enemy shield and causing pure damage to your Destiny 2 raidcarry.
Your main task is to prioritize and destroy each enemy all together, coordinating your main actions.
Try not to let the situation get critical, and retreat into the dark parts of the tunnels to restore your health and combat capabilities.
You need to break the portal, and then you will receive new target indications and go to destroy the next portal.
Next, many enemies will fall upon you again, which you need to destroy to break the next portal. Continue following the instructions and finish off the last two portals.

In the last stage, you will have to fight with captains – stronger monsters, with whom you need to remain attentive and, at the same time, shoot enemies. You can simply throw grenades at the goblins.
Immediately after this, you will meet the first mini-boss, Taken Fracturer.
He won’t pose much of a problem to your group, so destroy him while keeping your distance and continue your D2 raidcarry – go through the gap in the wall and go into the tunnel.
A sphere will stand in your way – you just need to drop it with your damage and move to the right to shoot the captain and his assistants and get closer to the next mini-boss, Taken Exsanguinator.
The battle will take place in a narrow corridor, so inflict the maximum damage that is possible, because they will dodge or deflect its damage, you simply will not be able to.
Take the best kinetic weapons and throw grenades at them until the enemy dies.
Continue to destroy enemies and Taken Phalanx, too, because you need maximum space to fight the next mini-boss. To successfully destroy the Taken Executioner, you need to use the longest range of weapons that only you have and spread out among yourself as much as possible so as not to receive group damage in melee.
Remember that the boss has no armor, and any damage, especially to the head, will come in its pure form, without any protection, so you can quickly deal with him and move on to the D2 raid carry.
Next, just follow the path straight to the pond and a new battle with Taken Asphyxiator and his goblin assistant will await you. Deal with the minion first, because he will protect the boss and prevent you from fighting him.
Against the boss himself, you need to keep your distance and hide behind the columns, avoiding damage to you.
After winning, just go down and go to the flickering wall and destroy it, behind it the final battle with the main boss of the entire strike will await you.
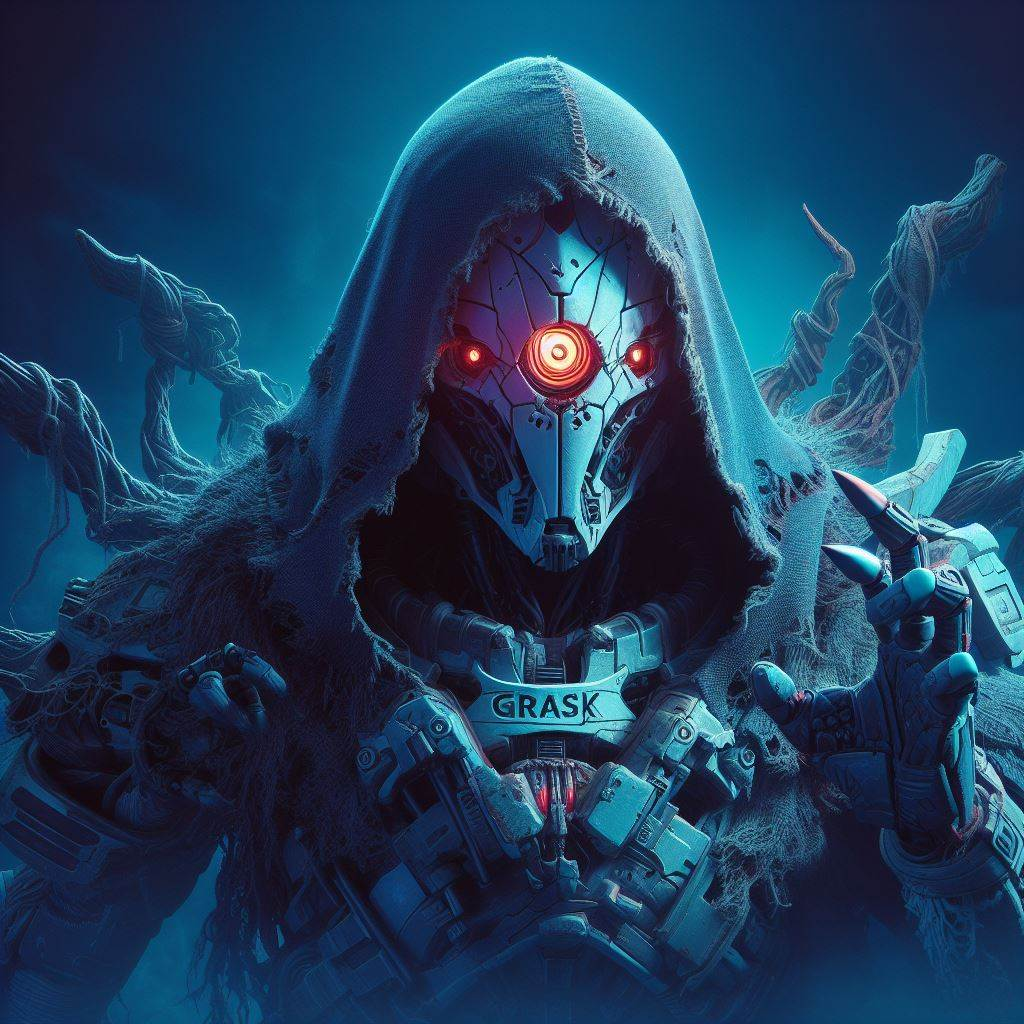
Grask, The Consumed
The tactics against the main boss will be quite simple and logical – you don’t need to waste your ammunition on armoring the enemy and knocking down his shield. Keep your distance and aim for the head.
Gradually, the head of the dungeon will call upon his assistants and often change his location. It is better to distribute your forces across the game map so that with any movement, the boss receives damage from at least one player from the group, preferably two.
Gradually, the edges of the map will begin to fill with poison, which will force you to move towards the center of the arena, but all this time you must attack the boss for the success of your D2 raidcarry.
When the enemy has a third of his health left, he will become much more aggressive and will try to trample one of the raid participants, and the player he chooses as his target should start moving actively but hold the boss so that he does not harm his allies and receives full damage from the whole group.
Keep aiming for his head, and don’t skimp on your class abilities, and the enemy will finally be defeated.
Conclusions on the Lake of Shadows strike
This is quite an interesting and profitable challenge for a small combat group, in which you will not just have a path to destroy monsters to get closer to the main boss, but all opponents will often be small bosses, with their own tactics, strengths and weaknesses, which will bring you a lot of experience in process of Destiny 2 raidcarry.
You will have to run through dark tunnels, but thanks to the guide and target designator, you will easily understand the zone and find every enemy from the Taken faction.
In this strike, many enemies will have a dense shield that cannot be penetrated by simple attacks, so your head-shooting skill will come in handy.
Be extremely careful and do not fall into the abyss, which will lead to death and problems for the rest of the group.
The strike itself is not so much difficult as it is lengthy due to the large number of dense targets that need to be destroyed before entering the chapter of the dungeon.
Try to take out the boss’ minions right away – this is a general tip not only for this strike but for all raids in Destiny 2, because they always either heal, protect, or buff their leader.
The same advice applies to simple monsters – even if they have a weak attack, but you give priority to the boss, then gradually there will be too many of them, and you will risk no longer having the resources to destroy them, so always clear the battlefield as much as possible, fortunately this does not take long and not difficult.